
First Login
The first time you power on a WAVER gateway, you connect to it over its management network and complete a one-time setup. This page covers reaching the admin panel at its default address, logging in, and working through the Quick Setup Wizard, which sets the administrator password, the internet connection, WiFi and your guest login methods. Once the wizard is finished, the device is ready to serve guest traffic and the remaining chapters cover refining that configuration.
Accessing the Device
- Connect the WAVER gateway's WAN/Internet port to a LAN port on your ISP router. The DHCP client is enabled by default, so the gateway obtains an IP address from your main router automatically.
- Connect your PC to one of the gateway's LAN/MGMT ports.
- Open a web browser (Chrome is recommended) and go to https://192.168.10.1.
Your browser will show a certificate warning — choose Advanced, then Proceed to 192.168.10.1. - The Admin Login page appears.

Log in with the default credentials:
Username: admin
Password: waver
These default credentials exist only to reach the setup wizard on first boot. The Quick Setup Wizard cannot be skipped, and it requires a new administrator password that meets a minimum strength requirement; the shipped default is rejected.
First-Time Login
The first time you access the gateway, the Quick Setup Wizard guides you through the initial configuration. Completing it is essential for performance and network security.
1. Accept the EULA and set regional options
Before the wizard starts, accept the End User License Agreement and set your Time Zone, Country and Language.
2. Run the wizard
After logging in, the wizard guides you through the essential settings.
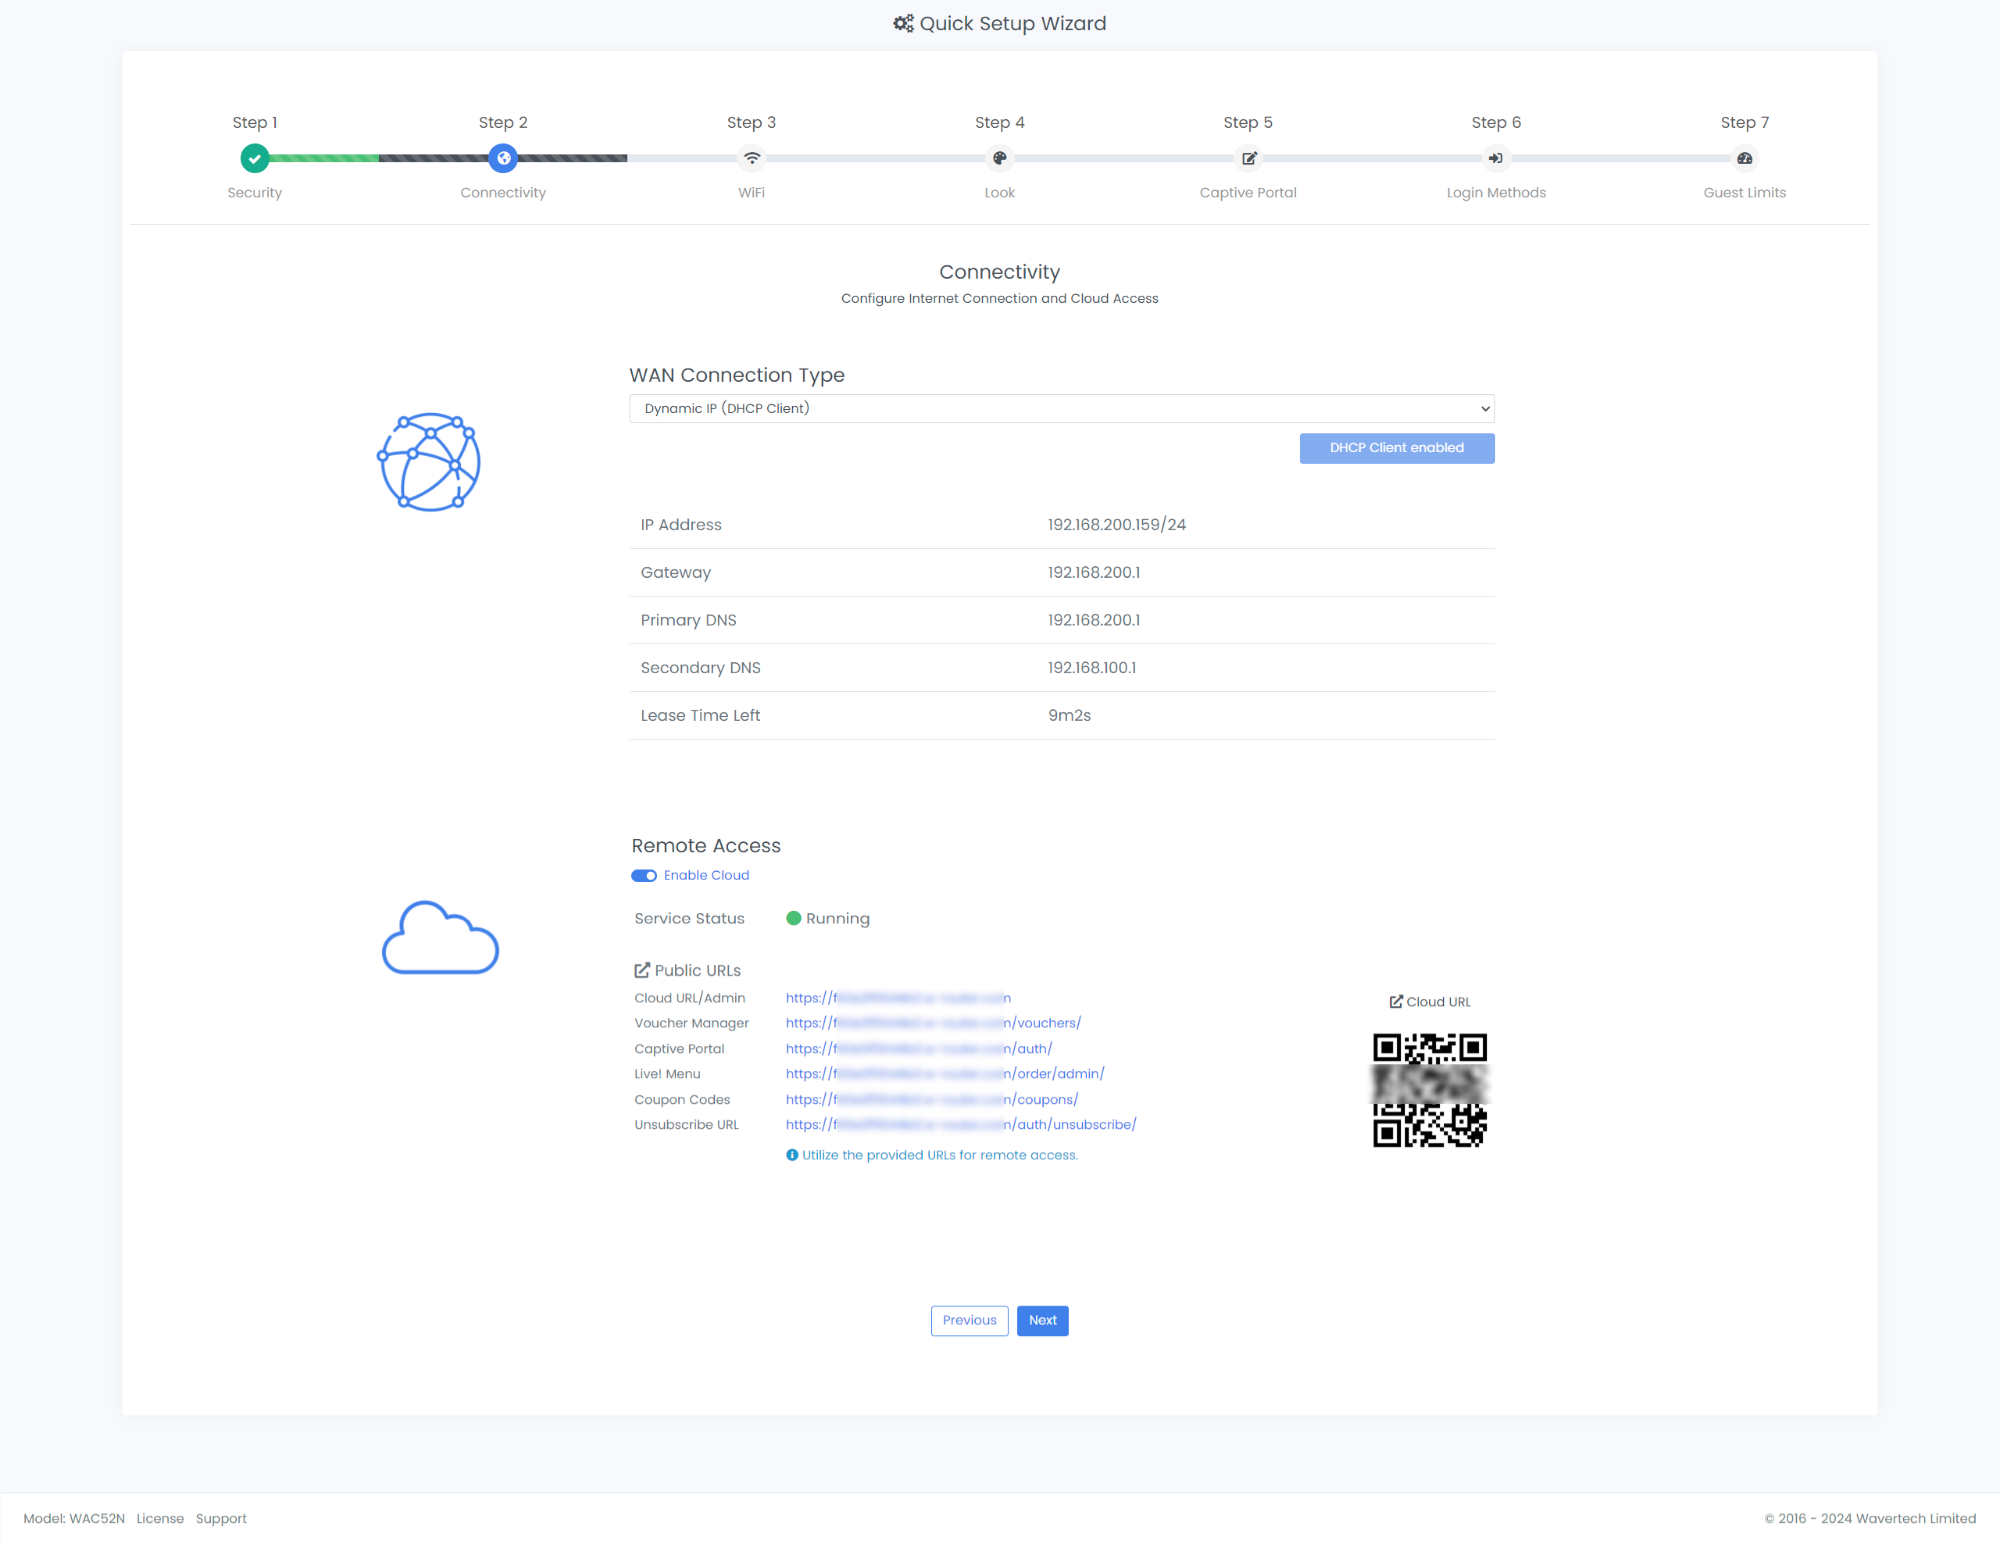
The Quick Setup Wizard configures:
- Device Admin Panel Password: Sets the password for the device admin panel and the other applications. This replaces the shipped default and must meet a minimum strength requirement.
- Internet Connection and Cloud Access: Configures how the device connects to the internet, and optionally enables Cloud access, which provides a URL for reaching the device administration remotely.
- WiFi Configuration (if applicable): Sets the WiFi SSID and operation settings on models with integrated WiFi.
- Look Configuration (SmartOne only): Customizes the device appearance, including RGB color and intensity and the appearance of the WAVER logo.
- Captive Portal Customization: Personalizes the captive portal with your company information — titles, company details, logo, images, video and banner text.
- Login Methods: Chooses how guests authenticate: Free, Email, Mobile/SMS, Facebook, Voucher, or a combination of these.
- Guest Time and Bandwidth Limits: Sets limits on guest session duration and bandwidth to manage network resources.
Once the wizard is complete, the gateway is configured for secure and reliable guest internet access.
Any additional accounts created later such as employee account have their own credentials and should be given strong, distinct passwords before staff are given access. See Security Best Practices.